SPONSORED CONTENT -- (StatePoint) Spring is prime time for home painting projects—from refreshing walls to tackling trim, doors and cabinets. While a new coat of paint can transform a room, the difference between professional-looking results and a frustrating DIY experience can come down to one detail: clean, crisp edges.
Paint bleed, uneven lines and messy corners are some of the most common challenges homeowners face—but they’re also avoidable. Here are five science-backed tips to make your spring painting projects look like they were done by a pro.
1. Understand Why Paint Bleeds
If you’ve ever removed painter’s tape and found uneven lines underneath, you’re not alone. Paint bleed happens when liquid paint slips into tiny gaps between the tape and the surface—a common issue on textured walls, wood and trim. Even if the tape looks firmly in place, small imperfections can allow paint to creep underneath, resulting in jagged edges.
The good news? Once you understand what causes paint to bleed, it’s much easier to prevent it—and get the results you want.
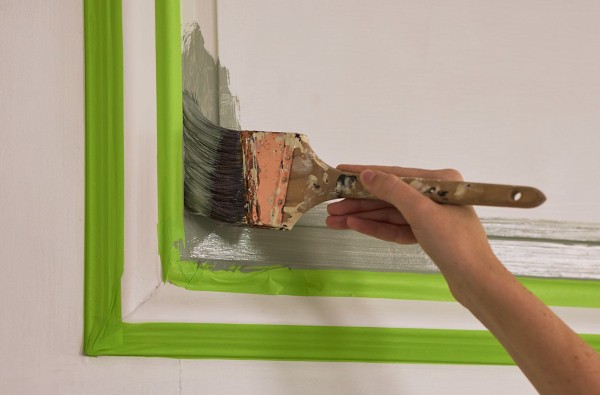
2. Block Paint Bleed Before It Starts
The secret to sharp paint edges isn’t just technique—it’s using the proper tool for the task. Premium performance painter’s tapes, like FrogTape, do more than just stick to the surface. Its PaintBlock Technology is a super-absorbent polymer that reacts with the water in latex paint to form a micro-barrier along the tape’s edge. This creates a gel-like seal that helps block paint from seeping underneath—preventing paint bleed before it even starts.
Similar super-absorbent technology has been used for years in everyday products (like baby diapers), where locking in moisture is key. Here, it’s what helps keep your paint lines clean and precise.
3. Match the Tape to Your Surface
Don’t use the same tape for every project. One of the most effective ways to get sharp paint lines is to pick the perfect tape for the unique surface you’re working on to ensure a strong seal. Here are two options to choose from to help achieve better results, reduce touch-ups and protect surfaces:
• Multi-surface painter’s tape: Perfect for wood trim, glass, metal and walls, where a stronger hold helps create crisp lines
• Delicate surface painter’s tape: Designed for use on freshly painted surfaces, wallpaper or decorative projects where you need lower adhesion to prevent surface damage
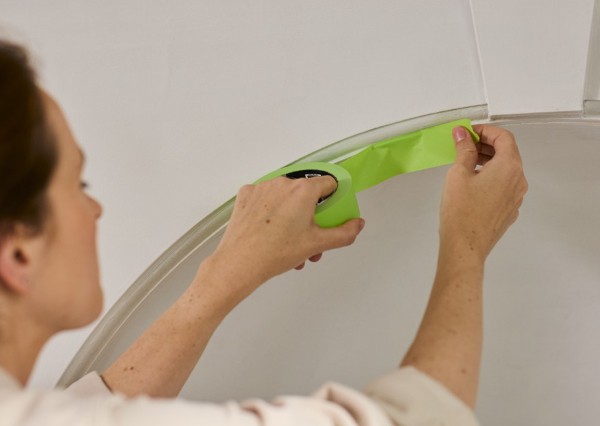
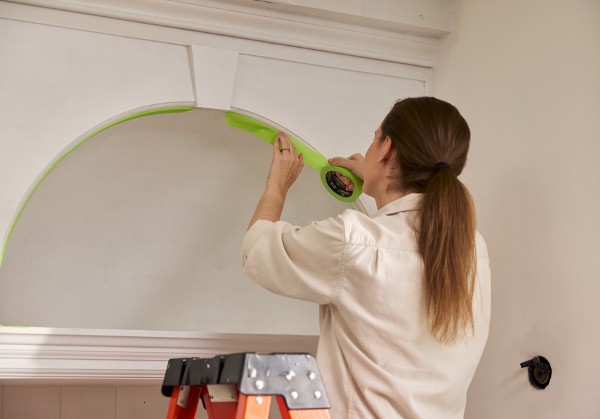
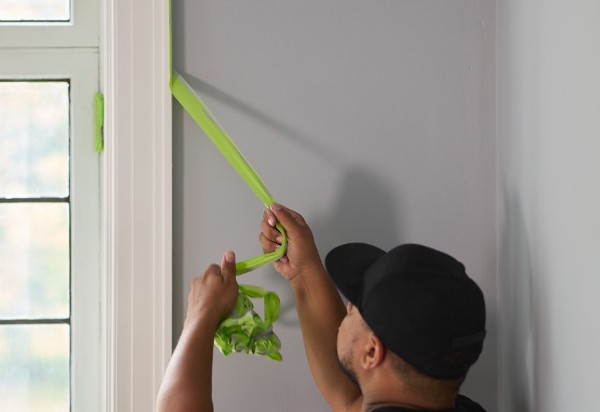
4. Use Tape That Bends Without Breaking
For challenging contours or curves, like arched doorways or mantels, high-quality material matters. An ultra-premium painter’s tape, like FrogTape Advanced Painter’s Tape, offers elevated performance when it comes to super sharp paint lines. The tape’s thin, yet strong washi paper backing is two times stronger than traditional crepe paper painter’s tape, allowing the tape to lay flat and bend around curves, so it peels off in one clean piece rather than shredding and leaving residue behind.
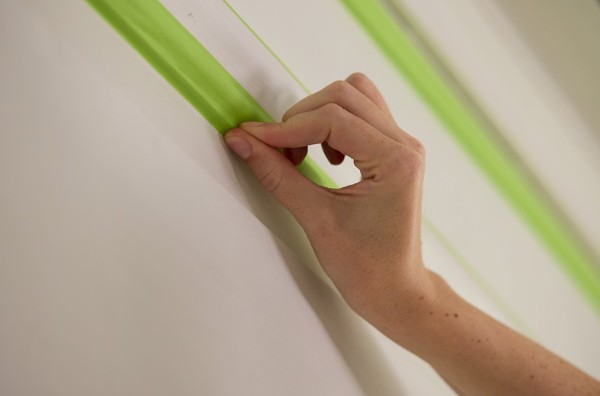
5. Remove Tape at the Right Time and Angle
Even the best taping technique can fall short if removal isn’t done correctly. For the cleanest lines, remove tape slowly at a 45-degree angle while the paint is still slightly wet.
If the paint fully dries, it can form a bond between the tape and the surface. When the tape is pulled away, that bond may cause chipping or uneven edges—undoing the crisp lines you’ve worked to achieve.
By combining the right approach and tape, with proper application and careful removal, you can consistently achieve sharp-looking paint lines on every project.